The primary objective of this guide is to provide a technical roadmap for homeowners and fitness studio operators in Edmonton who require oversized mirrors for home gyms. If you are planning a professional-grade workout space, your goal is likely to achieve a seamless, wall-to-wall reflection that remains safe under the vibrations of heavy equipment and the shifting temperatures of a basement environment. This article addresses the engineering challenges of managing 100-pound glass sheets, the physics of wall adhesion, and the specific installation constraints found in Northern Alberta residential construction. By understanding the Weight and Wedge factor, you can avoid common structural failures and ensure a distortion-free environment that meets provincial safety standards.
Quick Summary
- Safety Glazing Standards: Oversized gym mirrors must align with CAN/CGSB-12.1-2026 for safety glazing in human impact areas.
- The Weight Factor: A standard 4’ x 8’ mirror weighs approximately 102 lbs, requiring specific load-bearing wall preparation.
- The Wedge Factor: Professional installers use a mechanical wedge system to account for non-level Edmonton basement floors.
- Mirror Rot Prevention: Using acid-free mastic is mandatory to prevent the silvering from peeling over time.
- Local Logistics: Alberta’s soil conditions lead to foundation settling, which necessitates flexible mounting systems.
- Structural Integrity: Combining J-channels with high-bond adhesives provides a redundant safety system.
The Physics of Oversized Glass: The Weight and Wedge Factor
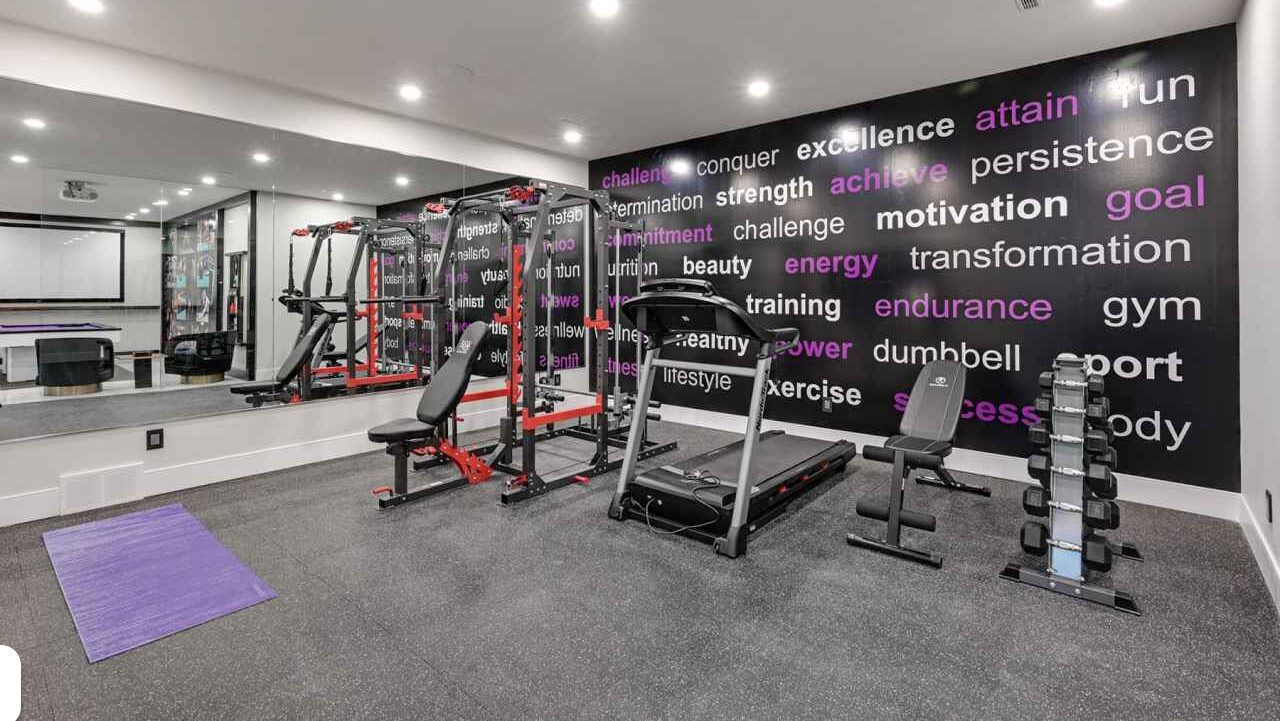
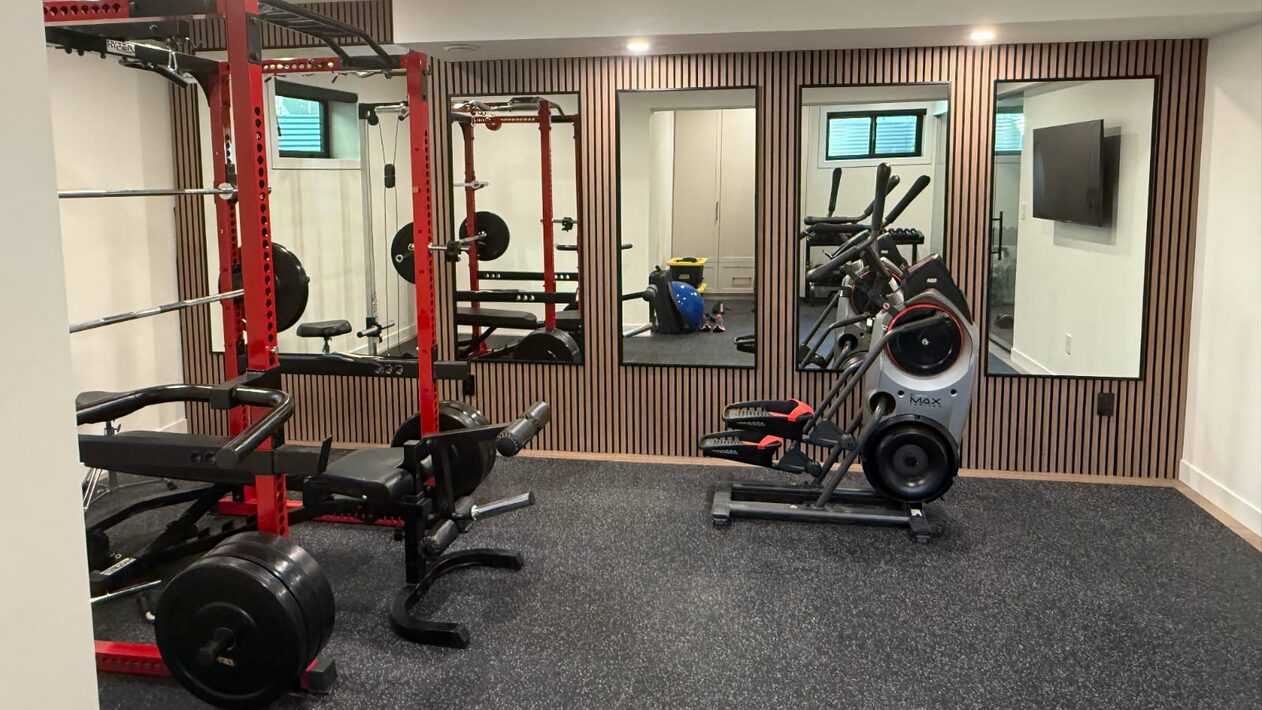
When discussing Custom Mirror Solutions for Edmonton Homes, the conversation must begin with the physics of the material. Glass is a heavy, rigid, and brittle substrate. In a home gym setting, where floor-to-ceiling mirrors are the standard, the logistics of installation become a matter of engineering rather than simple decoration.
Understanding the Weight Load
Standard residential mirrors are often 3mm or 4mm thick. However, for a gym environment, 6mm tempered glass mirrors or high-quality annealed glass with safety backing are the industry standard. The weight of 6mm glass is roughly 3.2 pounds per square foot. In a typical 8-foot-tall gym installation, a single 4-foot-wide panel exerts over 100 pounds of vertical downward force.
If this weight is supported solely by adhesive (mastic), the constant gravitational pull can lead to creeping or total bond failure, especially in high-humidity environments like a home gym. Professional installations rely on a combination of mechanical fasteners and chemical bonding to distribute this load.
The Wedge Factor in Edmonton Construction
The wedge factor refers to the technical process of installing glass into a space that is not perfectly square. In Edmonton, many home gyms are located in basements. Due to the high clay content in local soil, foundations frequently settle, leading to walls that are out of plumb and floors that are not level.
If a large mirror is placed directly on a slanted floor, the glass will lean, creating a distorted reflection or putting uneven pressure on the corners, which leads to cracking. A recommended approach involves using a mechanical levelling wedge system. This allows the installer to create a level base for the glass to sit in, regardless of the floor’s slope, ensuring the reflection remains true.
Comparing Mirror Mounting Systems
Before proceeding with Residential Glass Installation Services, it is critical to select the correct mounting hardware based on the wall substrate (drywall, concrete, or wood).
| Feature | Mirror Mastic (Adhesive) | J-Channel (Mechanical) | Z-Clips (Hanging) |
| Primary Support | Chemical bond to the wall | Bottom-lip aluminum rail | Interlocking metal rails |
| Best For | Permanent, flush look | Heavy, oversized panels | Removable installations |
| Weight Capacity | Low (requires support) | Very High | Moderate |
| Leveling Ability | Limited | High (using shims) | High |
| Removability | Destroys drywall | Easy to remove | Easy to remove |
| Cost | Low | Moderate | High |
A Recommended Workflow for Mirror Integration
A high-performance mirror installation requires a systematic approach to ensure the glass does not desilver or detach. While every site is different, the following workflow provides a technical standard for professional results.
Phase 1: Substrate Analysis and Moisture Testing
Before the glass arrives, the wall must be inspected. In Edmonton basements, moisture can seep through concrete and affect drywall. If the drywall is damp, mirror mastic will fail. A moisture meter should be used to ensure the substrate is dry. Furthermore, any high spots on the wall (bumps in the drywall mud) must be sanded down, as a single high point can cause a 100-pound mirror to crack when pressure is applied.
Phase 2: The Load-Bearing Layout
The installer marks the location of wall studs. Even if using adhesive, the J-channel (the bottom rail) must be screwed directly into the studs to manage the vertical weight.
Phase 3: Adhesive Application (The Grid Method)
Mastic should be applied in vertical strips or golf-ball-sized dollops. It must never be applied in a closed circle, as this traps air and moisture behind the glass, which leads to mirror rot (the blackening of the silver edges).
Phase 4: The Wedge and Set
The mirror is lifted into the J-channel. This is where the wedge factor is managed. Small plastic shims are placed inside the channel to level the glass. Once level, the glass is pressed back against the mastic.
Phase 5: Curing and Edge Sealing
The adhesive requires 48 to 72 hours to fully cure. During this time, the mirror should not be cleaned with ammonia-based products, as the chemicals can seep behind the edges and damage the fresh bond.
The 5-Point Structural Integrity Framework
To ensure a home gym mirror installation remains safe for decades, practitioners can use this original framework for evaluating the installation plan.
- Redundancy: Does the system rely on both chemical (mastic) and mechanical (clips/channels) supports?
- Substrate Compatibility: Is the adhesive specifically rated for the wall paint or surface? (Some low-VOC paints repel mirror mastic).
- Safety Backing: Is the glass treated with a Category II safety film to prevent large shards from falling if impacted?
- Vibration Dampening: In gyms with heavy treadmills or power racks, are there rubber spacers behind the glass to absorb kinetic energy?
- Environmental Ventilation: Is there a 1/8-inch gap at the top of the mirror to allow air to circulate behind the glass?
Local Edmonton Considerations and Logistics
Home gym mirror installation in Edmonton projects involves specific regional challenges that are often overlooked in general DIY guides.
Winter Transport and Thermal Shock
In Northern Alberta, winter temperatures can drop to -30°C. If a mirror is transported in a cold truck and immediately brought into a warm, humid home gym, it undergoes thermal shock. This can cause immediate cracking or weaken the internal silvering. Professionals must allow the glass to acclimate to the indoor temperature before applying any adhesives.
Navigation Constraints
Oversized mirrors (often 60″ x 100″ or larger) are difficult to navigate through standard Edmonton residential doorways and stairwells. Before ordering, it is essential to measure the ceiling clearance in the stairwell. Often, a single large mirror must be split into two smaller panels with a polished seam because it physically cannot fit into the basement.
Soil and Foundation Shifts
As mentioned, Edmonton’s soil is prone to shifting. This means your home gym walls may move slightly between summer and winter. A rigid, glued-only installation may crack as the house shifts. Using a J-channel with a small amount of “play” or room for expansion is the preferred local method for long-term durability.
Step-by-Step Pre-Installation Checklist
Before booking a technician or ordering your glass, complete this checklist to ensure the site is ready for Residential Glass Installation Services.
- [ ] Clear the Path: Remove all gym equipment, weights, and furniture at least 6 feet away from the target wall.
- [ ] Check Outlets: Identify all electrical outlets on the wall. Mirrors will require custom cutouts, which must be measured to the millimetre.
- [ ] Wall Flatness Test: Use a 4-foot level or a straight edge to check for bows in the wall. If the wall is bowed more than 1/4 inch, it may require a plywood backer.
- [ ] Baseboard Removal: Determine if the mirror will sit on the baseboard or if the baseboard needs to be removed for a floor-to-ceiling look.
- [ ] Ceiling Height: Measure the height at both ends of the wall. In many Edmonton basements, the ceiling height varies by up to an inch across a 10-foot span.
- [ ] Stud Location: Mark all studs using a high-quality stud finder.
Common Mistakes in Gym Mirror Installation
- Using Liquid Nails: Standard construction adhesives contain acids that eat through the silvering on the back of the mirror, causing permanent black spots within months.
- Ignoring the Floor Slope: Resting a heavy mirror directly on a basement floor without shims often leads to the glass cracking at the bottom corner as the house settles.
- Inadequate Glass Thickness: Using 3mm or 4mm glass for a large area. Thin glass creates a “funhouse” distortion effect because it flexes under its own weight.
- Tightly Butted Seams: When installing wall-to-wall mirrors, leaving zero gap between panels can cause them to chip if the walls expand or contract with the seasons.
What To Do If Something Goes Wrong
Even with professional planning, glass is unpredictable. Here is how to handle common post-installation issues.
- If you see a crack: Do not touch the glass. Clear the area immediately. Apply heavy-duty duct tape over the crack to prevent shards from falling, and call a professional for a safe removal and replacement.
- If you notice “Mirror Rot” (Black Edges): This is usually caused by cleaning products or improper adhesive. Unfortunately, mirror rot cannot be repaired. The mirror must be replaced, and the installation method must be adjusted to include better ventilation.
- If the mirror vibrates loudly: This often happens when a treadmill is too close to a mirror that isn’t properly dampened. You can sometimes fix this by sliding small rubber “bumpers” behind the edges of the glass to absorb the sound.
Realistic Service Constraints
It is important to understand the logistical limits of mirror installation. Most glass companies cannot install mirrors on ceilings due to the extreme liability and safety risks involved. Additionally, if a wall is structurally unsound or shows signs of active water damage, a professional installer will refuse the job until the underlying issue is repaired.
Large-format glass also has a “manufacturing tolerance.” Even the highest quality mirrors may have microscopic inclusions or slight edge deviations that are within industry standards. Understanding these constraints helps set realistic expectations for your project.
FAQ: Home Gym Mirror Installation
What is the best thickness for gym mirrors?
For any mirror larger than 36 inches in width, 6mm (1/4 inch) is the industry standard. This thickness provides the necessary rigidity to prevent distortion and offers better impact resistance in a fitness environment.
Do I need tempered glass for my gym?
In most residential applications, annealed glass with a Category II safety backing is sufficient and more cost-effective. However, if the mirror is installed in a high-traffic commercial gym or near a weight rack where direct impact is likely, tempered glass may be required by local building codes.
Can mirrors be installed over wallpaper?
It is highly discouraged. Mirror mastic is designed to bond to porous surfaces like primed drywall or wood. Wallpaper can peel under the weight of the glass, causing the entire installation to fail and fall.
How do I clean my new gym mirrors safely?
Never spray glass cleaner directly onto the mirror. The liquid can run down and collect in the J-channel, attacking the silvering. Instead, spray a microfiber cloth with an ammonia-free cleaner and wipe the surface.
How long does the installation process take?
A standard home gym installation in Edmonton typically takes between 4 and 6+ hours, depending on the number of cutouts for outlets and the complexity of the levelling required.
Can you cut holes for TV mounts or outlets?
Yes, mirrors can be custom-cut to accommodate electrical outlets, TV brackets, or even ballet bars. These cuts must be made at the fabrication shop before the glass is brought to your home.
Conclusion
Installing oversized mirrors in an Edmonton home gym is a structural undertaking that requires a deep understanding of glass physics and local environmental factors. By prioritizing the weight and wedge factor, you ensure that the glass remains secure despite the inevitable foundation shifts common in Northern Alberta. Utilizing a combination of mechanical J-channels, acid-free mastic, and safety backing provides the redundancy necessary for a high-impact fitness environment. Precision in the planning phase, specifically regarding wall flatness and moisture levels, is the only way to achieve a distortion-free reflection that lasts for decades.If you are ready to install professional-grade mirrors in your fitness space, contact our team to discuss your technical requirements and dimensions. We offer site-specific assessments to ensure your oversized glass is mounted safely and levelled perfectly against your basement walls. Request a quote today to start your home gym transformation with Edmonton’s glass installation experts.


